
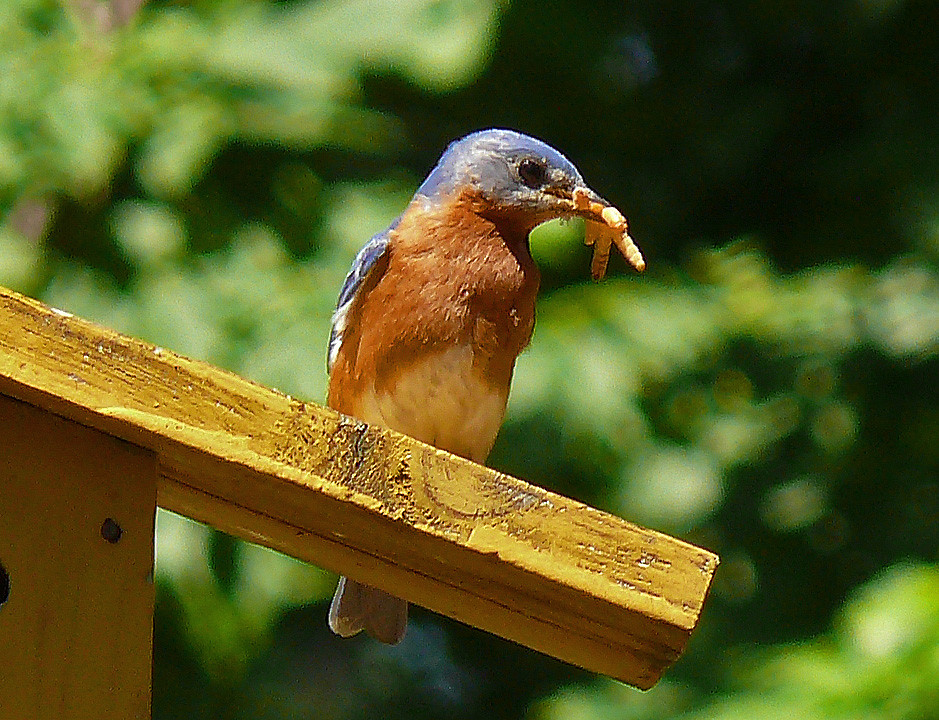
Mealworms are a delicious treat that bluebirds love to devour! Putting out live mealworms is a great way to train bluebirds to come to a feeder in the first place, since they’re not usually “feeder birds.” The first time I fed mealworms to bluebirds, I was surprised by how quickly they went through the whole bag. But then I found out that I could actually raise my own mealworms so I wouldn’t have to keep buying them. So, in this article, I’ll walk you through how to raise mealworms for bluebirds, step-by-step.
Photo by Larry Meade is licensed under CC BY-NC-SA 2.0
Here’s what you’ll find in this article.
Table of Contents
- What Are Mealworms?
- Do I Need to Raise My Own Mealworms?
- The Benefits of Raising Your Own Mealworms for Bluebirds
- How to Raise Mealworms for Bluebirds [Step-By-Step Guide]
- Stages of the Mealworm Life Cycle
- FAQs
What Are Mealworms?
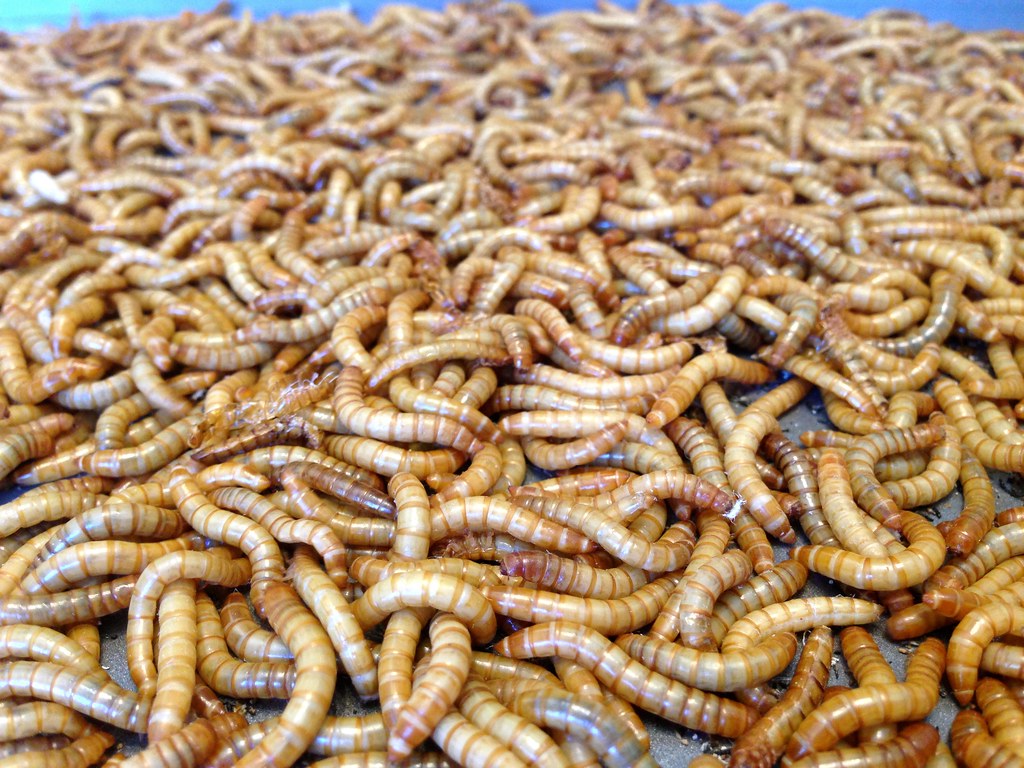
Photo by OakleyOriginals is licensed under CC BY 2.0
What we call “mealworms” are actually the larval stage of the Tenebrio molitor, a species of darkling beetle. These larvae (mealworms) are commonly raised in colonies and sold as food for pet birds, lizards, and other small animals. Wild birds, like the Eastern Bluebird and the American Robin, also love to eat mealworms. So, mealworms make a great source of food to offer at a bird feeder.
If you are interested in attracting bluebirds to your backyard, or if you already have bluebirds that visit you regularly, you might be thinking of raising your own mealworm colony at home to have a fresh supply of live mealworms for your backyard birds. This is a great project to take on! But, do you have to raise your own mealworms?

Photo by OakleyOriginals is licensed under CC BY 2.0
Do I Need to Raise My Own Mealworms?
No, if you don’t want to raise your own mealworm colony at home, that is completely fine. You can buy a bag of live mealworms, store them in your fridge, then refill your bluebird feeder whenever you want. The mealworms will last in the fridge for up to two weeks. Storing live mealworms in the refrigerator will save you time and effort compared to raising your own mealworms, but it will cost more money in the long run because you have to continually buy more mealworms.
The cold temperature of the refrigerator will put the mealworms in a dormant state, and it will put a “pause” on their life cycle. (You won’t have to worry about mealworms turning into beetles in your fridge!) When you take the mealworms out of your fridge and put them in your feeder, they’ll start wiggling and moving again as they approach 70°F.
If saving time and effort sounds like your thing, keeping a stash of live mealworms in the fridge is the method I would recommend. You can purchase a bag of live mealworms here from Chewy.com.
The Benefits of Raising Your Own Mealworms for Bluebirds
Raising your own mealworms for bluebirds at home can save you a significant amount of money compared to buying mealworms and storing them in the fridge. If you buy a new bag of live mealworms every other week, you could end up spending around $161.88 on mealworms throughout the six month bluebird nesting season – and even more if you decide to offer mealworms at your feeder year-round! While mealworms are convenient to buy and store in the fridge, the cost can start to add up for serious bluebird enthusiasts.
Luckily, mealworms are easy to breed and raise for your bluebirds at home. With the proper set up, you can have your own plentiful supply of mealworms right at home. You’ll just need approximately 15 minutes to set everything up, a starter bunch of live mealworms to establish your new colony, and approximately two months to allow them to complete their life cycle. If you stay consistent at maintaining your colony, you’ll never have to buy mealworms again.
So, how do you actually get started raising mealworms at home? Here’s my step-by-step guide to the whole process.
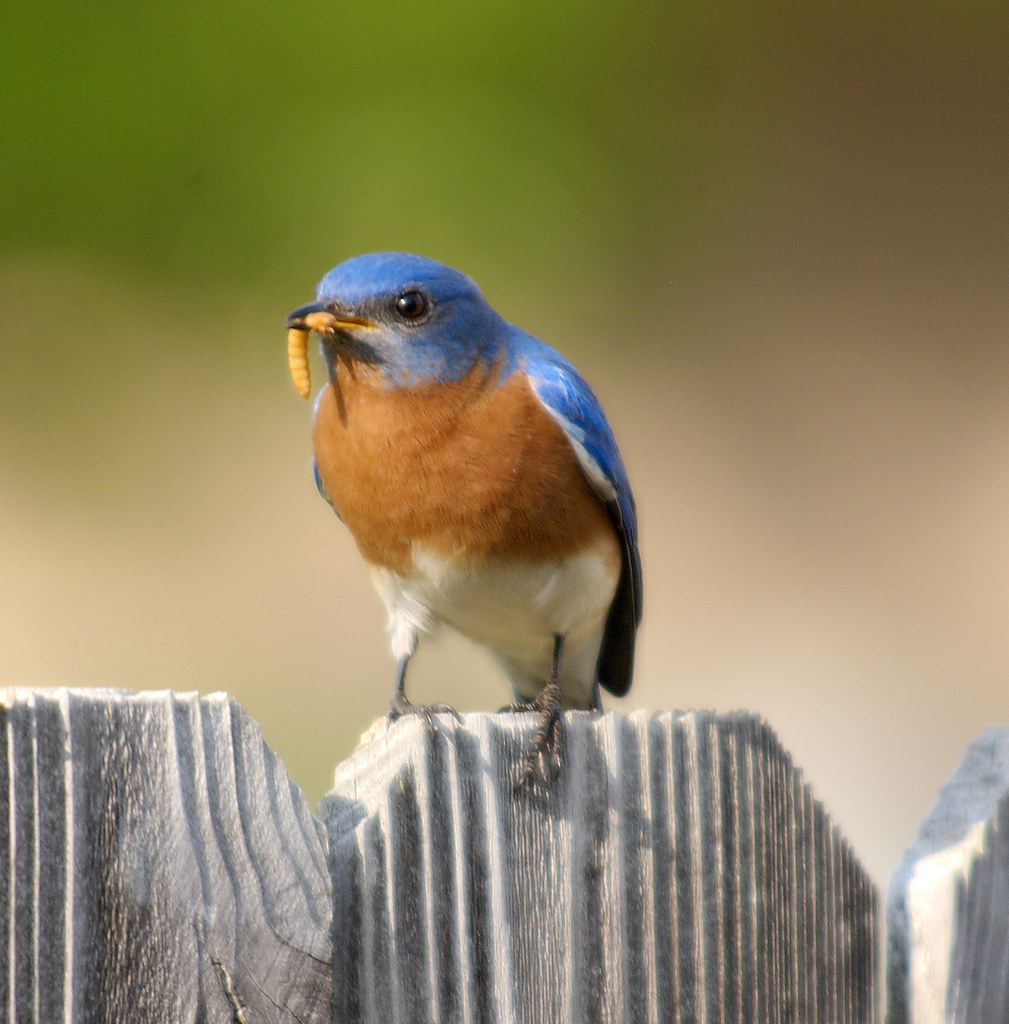
Photo by dbarronoss is licensed under CC BY-NC-ND 2.0
How to Raise Mealworms for Bluebirds [Step-By-Step Guide]
1. Line a plastic container with one inch of a grain product (oatmeal, cornmeal, etc.)
Get a small plastic storage bin or a container with a vented cover to serve as a home for your mealworm colony. It should be a transparent container that allows light to pass through, yet retains the food and prevents the mealworms from escaping. You can use this 2.5 gallon container from Amazon as long as you drill a few ventilation holes in the lid.
At the bottom of the container, layer 1-2 inches of wheat bran, oatmeal, or cornmeal. This layer of grain is called a “substrate.” It will serve as a food source for the mealworms and as a place for them to burrow.
Substrate
An underlying substance or layer, the surface or material on or from which an organism lives, grows, or obtains its nourishment
2. Place a few handfuls of mealworms on top of the grain
From your starter bag of live mealworms, place a few handfuls of mealworms (about 100) on top of the layer of grain. This will be your starter colony. The goal is to let these mealworms thrive at the right temperature, and in the right conditions, so that that they complete their entire life cycle. Ideally, they will turn in to beetles that will then produce more mealworms for you to use. Once the life cycle has been established, then you will be able to remove handfuls of mealworms whenever you need them.
You can move the rest the mealworms that you are not using to the fridge, where they can remain dormant for up to two weeks. Add them to your bluebird feeder whenever you want!
3. Put slices of potato or carrots into the container to retain moisture
Now, add a few slices of a potato or carrots on top of the layer of grain, next to the mealworms. These cut vegetables will help to retain moisture in the container and create an ideal environment for the mealworms. The larvae will use these vegetables as a water source, so replace them every few days. Try not to let them dry out or get moldy!
4. Leave the container out at room temperature for a few weeks
Leave your mealworm container out at room temperature for a few weeks. During this time the mealworms will feed on the grain and start to develop. Mealworms can reproduce in temperatures ranging from 65°F-100°F. But, since the ideal temperature at which to raise mealworms is around 80°F, try to place the container in a warmer room in your house, such as in the laundry room or basement (source).
Be sure to keep the container at a reasonably constant temperature. During winter, if you are concerned about the mealworms getting too chilly, you may keep it warm by placing a heating pad (set to “low’) underneath the container. This will help speed up the life cycle, because at temperatures below 65°F, mealworms’ development will be halted.
5. Observe the mealworms as they transform from larvae to pupa to adult beetles
Over the next 6-8 weeks, the mealworm larvae will turn into pupae. Then, after the 1-3 week pupa stage, the pupae will turn into fully grown adult beetles. The beetles will then lay very small eggs which will hatch into larvae to repeat the life cycle.
As new mealworm larvae begin to emerge, the adult beetles will start to die off, signaling that the life cycle has run its course.
6. Once the life cycle has been established, remove a few handfuls of mealworms as needed
When new mealworms begin to appear in the larva stage, you can start removing handfuls of mealworms to feed to your bluebirds. Be cautious not too remove too many mealworms at once, as you need to keep some mealworms to continue growing into adult beetles to continue your colony. But, it should be fine to remove a handful of mealworms or so a day, depending on the size of your colony.
7. Move the plastic container to the refrigerator to “pause” the mealworm life cycle
Move your mealworms to the fridge if you have too many mealworms on hand, or if you just need to put a “pause” on the life cycle. Maybe you’re going on vacation for a week or two and don’t want to have to worry about tending to your mealworms while your gone. Just place the entire plastic container in the refrigerator and the mealworms should remain in a dormant state for up to two weeks.
8. Place a heating pad underneath the plastic container to “speed up” the mealworm life cycle
In the winter, or during a cold spell, you can place a heating pad (set to “low”) underneath the plastic container to speed up the mealworm life cycle. The ideal temperature at which to keep mealworms is 80°F. Anything above 100°F could be dangerous for the mealworms and anything below 65°F could halt their life cycle. So, if your mealworms are looking too sluggish during the winter, try out a heating pad on the “low” setting throughout the day.
9. Replace potatoes/carrots periodically and remove any dead beetles/mealworms
To maintain optimal conditions for your mealworm colony, replace the vegetables every couple of days so that the mealworms have a consistent water source. Also, remove any dead beetles or mealworms as you find them. This will keep your container clean and will allow the mealworms to thrive.
Now, let’s understand a little bit more about what will be happening during all four stages of a mealworm’s life cycle.

Photo by velacreations is licensed under CC BY 2.0
Stages of the Mealworm Life Cycle
| Life Cycle Stage | Duration | Notes |
|---|---|---|
| Egg | 1-4 weeks | Eggs are small, about the size of a speck of dust. They will be hard to see on the layer of grain. |
| Larva | 8-10 weeks | The mealworm is now in the larva stage and will look like a mealworm. |
| Pupa | 1-3 weeks | The pupae will appear white and “alien-like.” It will grow organs and transform into an adult beetle. |
| Adult Beetle | 4-12 weeks | Adults darkling beetles will transform from white, to brown, to black. They have wings but cannot usually fly. They will mate after a week or two, then burrow into the substrate to lay eggs. They will die a while after laying eggs. |
Larva Stage

Photo by baracoder is licensed under CC BY-SA 2.0
Pupa Stage
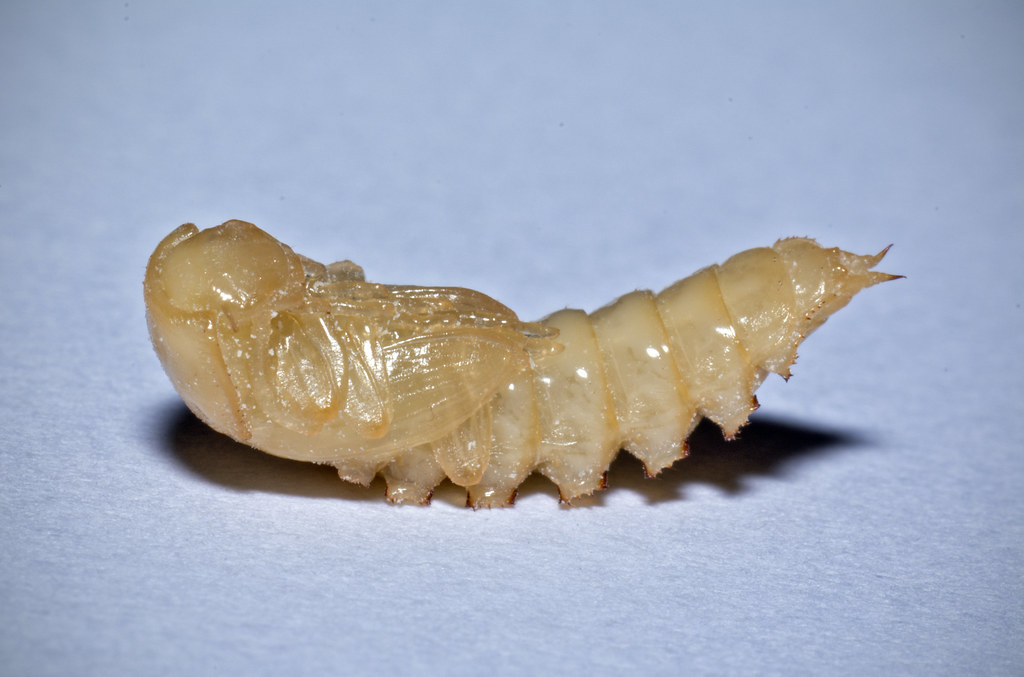
Photo by AJC1 is licensed under CC BY-SA 2.0
Adult Beetle Stage
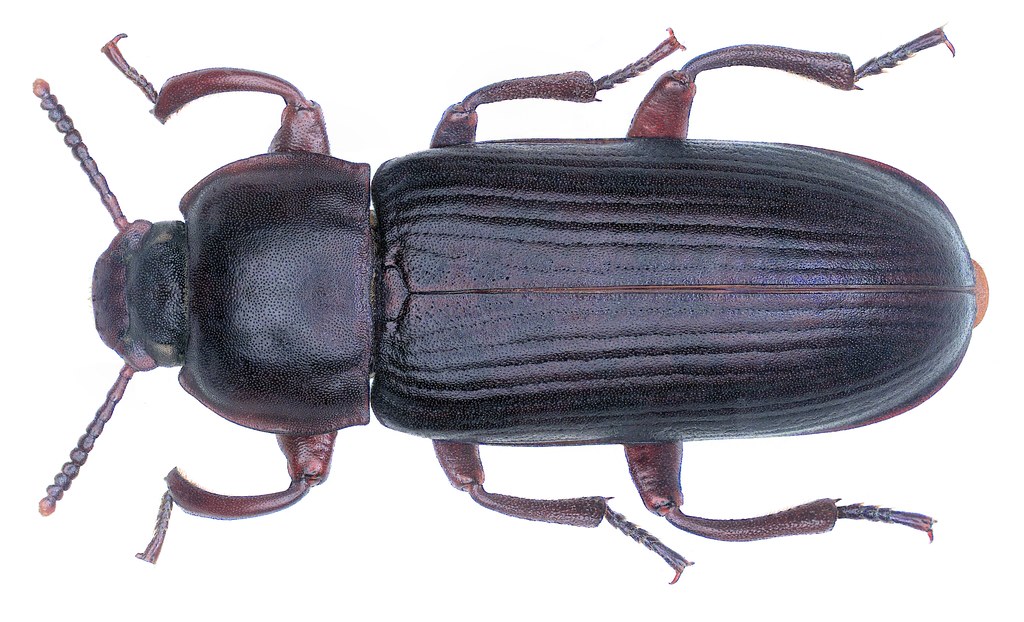
Photo by urjsa is licensed under CC BY-SA 2.0
FAQs: How to Raise Mealworms for Bluebirds
What is the ideal temperature for mealworms to reproduce?
As a general rule, mealworms can reproduce in temperatures ranging from 65°F-100°F. But, the ideal temperature at which to raise mealworms is around 80°F with 70% humidity. Temperatures on the high and/or low end of the spectrum may halt the mealworm life cycle and stunt their growth (source).
Can I store live mealworms in the fridge?
Yes, you can store live mealworms in a bag in the refrigerator for up to two weeks. During this time they will remain in a dormant state and you can take them out by the handful to offer them to birds. After two weeks, you should move the mealworms out of the fridge and keep them at room temperature for around 24 hours with a food source (such as cornmeal) and water source (such as sliced potatoes). This 24 hour period at room temperature will allow the mealworms to wake up, nourish themselves, and they’ll be ready to go back into the fridge again.
Are mealworms healthy for bluebirds?
Mealworms are a very healthy source of nutrition for bluebirds, and bluebirds will accept them year-round since they are similar to other insects they naturally eat. However, since mealworms are a calcium-depleting food, you should supplement your bluebirds’ diet with calcium if you suspect that mealworms are making up a large percentage of their diet. To supplement with calcium, shake up a handful of mealworms in a plastic bag with a tablespoon of calcium carbonate. This will provide an extra boost of calcium before you feed the mealworms to bluebirds.
Conclusion: How to Raise Mealworms for Bluebirds
With a little time and effort, it’s easy to raise mealworms for bluebirds at home. Follow these steps and you’ll be on your way to raising your own colony of mealworms.